Rain-Proof Your Outdoor Wood: Smart Ways to Block Moisture
Rain, dew, and humidity don’t just make surfaces wet—they drive a relentless cycle that swells fibers, feeds fungi, bleaches color, and eventually breaks wood down from the inside out. If you’ve ever watched a deck gray and splinter, or a fence twist and check in a single season, you’ve seen moisture at work. The good news: you can outsmart the water. This comprehensive guide explains how to protect outdoor wood from moisture with a layered strategy—smart design, the right species, science-backed finishes, careful prep, and steady maintenance—so your projects last longer and look better with less effort.
Why Moisture is the #1 Threat to Exterior Wood
Outdoor wood fails faster when water finds pathways into and through the grain. Understanding those pathways helps you block them.
- Capillary action: Wood is porous. End grain behaves like a bundle of straws, pulling water deep inside.
- Swelling and shrinkage: Repeated wet–dry cycles cause dimensional movement, cracking finishes and opening checks.
- Fungal growth: Persistent moisture and warmth invite mold, mildew, and rot fungi that digest lignin and cellulose.
- UV synergy: Sunlight breaks down lignin at the surface, which makes fibers more absorbent—a feedback loop that accelerates moisture uptake.
- Trapped water: Poor design details (flat surfaces, tight joints, no drip edges) hold water where it can do the most damage.
The solution is to stop water from soaking in, let incidental moisture escape quickly, and add preservatives that deter biological attack. In practice, you’ll combine smart material choices, construction details, and finishing systems to create a durable, breathable shield.
Start With the Wood: Species, Treatment, and Modification
Not all lumber behaves the same outside. Choosing materials engineered or naturally suited for wet conditions slashes your workload from day one.
Durable species that resist moisture
- Cedar (Western Red, Alaskan Yellow): Lightweight, stable, and rich in natural extractives; good for siding, fencing, and trim.
- Redwood: Similar to cedar with excellent dimensional stability; heartwood performs best outdoors.
- Teak and Ipe: Oily, dense tropical hardwoods with high natural rot resistance; superb for furniture and decking, though harder to finish.
- Thermally modified wood: Heat-treated to reduce hygroscopicity, improving dimensional stability and decay resistance.
- Acetylated wood (e.g., Accoya): Chemically modified to resist swelling and rot with outstanding durability.
Pressure-treated lumber
For ground contact, framing, and posts, pressure-treated (PT) lumber infused with preservatives is often the most economical, durable option. Look for the correct use class (above ground vs. ground contact) and allow fresh PT wood to dry before finishing—its moisture content can be very high after purchase.
Engineered and composite alternatives
Engineered options like wood-plastic composites and modified woods lower maintenance by limiting water uptake. When natural wood is a must, pair durable species with robust finishes and design features that shed water.
Design to Shed Water Before You Reach for a Finish
Long-lasting outdoor wood starts with geometry that rejects water, because the best finish can fail if the design traps moisture.
Drainage, slope, and airflow
- Slope flat surfaces: Rail caps, bench tops, and sills should have a minimum of 1:12 pitch so water runs off.
- Promote airflow: Keep deck boards gapped and elevate components off the ground to speed drying.
- Avoid soil contact: End grain in soil is a rot magnet. Use concrete piers, post bases, or gravel beds to isolate wood from constant dampness.
Details that break the capillary chain
- Drip edges and kerfs: Add a small groove under horizontal edges to interrupt water wrapping back to the underside.
- Roundovers, not sharp corners: Slight radiuses help finishes form uniform films and reduce checking.
- Ventilated assemblies: Back-prime cladding and use rainscreen battens to create a drainage gap behind siding.
- Seal end grain: Pre-seal all cut ends with a dedicated end-grain sealer or the finish system you’ll use later.
Hardware matters
- Corrosion-resistant fasteners: Stainless or hot-dipped galvanized reduce staining and prevent galvanic reactions that compromise wood fibers.
- Flashing and membranes: Use metal flashing and butyl tapes where wood meets masonry or metal to divert water and block capillary wicking.
Finish Systems That Keep Water Out (and Let Wood Breathe)
There’s no single magic product. The best moisture control pairs a preservative with a water repellent, topped (where appropriate) by UV-resistant films or penetrating stains. Choose a system that fits the exposure, look, and maintenance you can live with.
Water-repellent preservatives (WRPs)
WRPs combine a fungicide with water-repellent resins (often including wax or silicone). They penetrate the wood, reduce swelling, and slow fungal colonization. Excellent as a first coat under stains or paints, WRPs are also useful as standalone protection for a natural look—just reapply as needed.
Penetrating oils and hybrid oil-modified finishes
- Tung and linseed oils: Classic choices that polymerize in the wood, enhancing water resistance and grain. Modern blends often include UV inhibitors and mildewcides.
- Oil-modified alkyds: Offer deeper penetration and better durability than pure oils; good for decks and fences where film build is risky.
Pros: easy to refresh, forgiving of movement. Cons: color and protection fade faster; plan on periodic maintenance coats.
Semi-transparent, semi-solid, and solid stains
These finishes balance penetration with pigment that blocks UV and helps repel water. Semi-transparent stains show more grain; solid-color stains act like a breathable paint, hiding grain but offering stronger UV defense. Many quality stains include waterproofing agents and mildewcides.
Film-forming coatings: spar varnish, marine urethane, and exterior paint
- Spar varnish/marine urethane: Flexible, UV-resistant films built for boats and exterior trims. Beautiful on furniture and doors, but they demand vigilant maintenance to prevent cracking and moisture intrusion.
- Exterior paint over primer: A robust moisture barrier when applied over a stain-blocking, breathable primer. Best for siding, trim, and structures more than walk surfaces.
Films create excellent initial protection, but once breached, water can get trapped beneath. Use where you can maintain them.
Silane/siloxane water repellents
These clear, penetrating repellents use silane and siloxane chemistry to reduce water absorption without creating a film. Ideal for masonry, they also help on wood when you want a natural appearance with minimal darkening. Expect more frequent reapplication vs. pigmented systems.
Epoxy encapsulation (with UV topcoats)
For high-end furniture or trim, a thin penetrating epoxy seals end grain and fills checks. Top with multiple coats of spar varnish or a 2K polyurethane that provides UV stability. This two-step system is unmatched for gloss and moisture blocking—but it demands skilled application and regular upkeep.
Elastomeric deck coatings and membranes
On weather-exposed platforms and rooftop decks, elastomeric coatings and membrane systems form continuous, flexible barriers. They hide grain and texture but excel at moisture proofing horizontal surfaces. Follow manufacturer specs for primers, reinforcement fabrics, and recoat intervals.
Choosing the Right System for Your Project
Match exposure, use, look, and maintenance capacity. Here’s a quick decision guide.
Decks and railings
- Best balance: High-quality semi-transparent or semi-solid stain with a WRP base. Recoat every 1–3 years depending on sun and traffic.
- High-performance: Oil-modified alkyd plus a pigmented topcoat; consider joist-top flashing tape and end-grain sealers at cut ends.
- Low maintenance species: Ipe or acetylated wood with periodic oil refresh to maintain color; otherwise let them silver naturally.
Fences and screens
- Value option: WRP followed by a semi-transparent stain. Easy rolling/spraying across large surfaces.
- Bold color: Solid-color stain for a painted effect that remains breathable.
Outdoor furniture
- Natural look: Penetrating oil on teak/ipe; frequent light maintenance.
- Showpiece finish: Epoxy sealer plus spar varnish; maintain annually to prevent film failure.
Garden beds, play structures, and food-contact areas
- Safety first: Choose low-VOC, non-toxic finishes and avoid old CCA-treated lumber. Use cedar, redwood, or untreated rot-resistant species where possible.
- Barrier approach: Line interior faces of raised beds with breathable geotextile to separate wet soil from wood.
Sheds, siding, pergolas, and trim
- Cladding: Back-prime with WRP, then apply a topcoat system—solid stain or exterior paint—for long-term protection.
- Trims and sills: Favor sloped profiles and drip kerfs; use flexible, UV-stable topcoats.
Step-by-Step: From Prep to Final Coat
Expert preparation is the biggest lever for durability. Here’s a practical workflow for how to protect outdoor wood from moisture with any finish system.
1) Inspect, repair, and clean
- Check for rot: Probe suspect areas with an awl. Replace wood that’s soft, spongy, or deeply checked.
- Degrease and degray: Use an exterior wood cleaner or oxygen bleach to remove dirt, mildew, and oxidized gray fibers. Rinse thoroughly.
- Neutralize: After strong cleaners, apply a wood brightener to balance pH and restore color for better stain uptake.
2) Dry to the right moisture content
Finishes fail if trapped moisture tries to escape. Let the wood dry to 12–15% moisture content (or as specified) before sealing. Use a pin-type moisture meter for accuracy and wait 24–72 hours after rain or washing depending on climate.
3) Sanding and surface prep
- Open the grain: For hardwoods like ipe, sand to 80–100 grit to help penetration; for softwoods, 100–120 grit is typical.
- Remove dust: Thorough vacuuming and tack wiping keep pores clear for better absorption.
4) Address mildew and bio-risk
If you’ve had mold issues, choose a finish with a mildewcide and treat stubborn areas with an EPA-registered fungicidal wash. Always follow label directions.
5) Prime vulnerabilities first
- End grain: Apply a dedicated end-grain sealer or a thin epoxy sealer. This single step drastically reduces capillary uptake.
- Checks and joints: Fill cracks with flexible exterior fillers compatible with your finish system.
- Back-priming: For siding and trim, coat the unseen face with WRP or primer to equalize moisture movement.
6) Apply the base: preservatives and penetrants
Lay down a WRP or penetrating oil to condition fibers and add baseline water repellency. Allow proper dry time—often 24–48 hours—so topcoats bond well.
7) Build color and UV defense
- Stains: Brush, roll, or spray with back-brushing. Maintain a wet edge to avoid lap marks. Two thin coats beat one heavy coat.
- Paint systems: Prime bare wood or stained surfaces with a compatible exterior primer, then apply two finish coats.
- Varnishes/urethanes: Multiple thin coats (3–6) with light sanding between builds a flexible film.
8) Respect weather windows
- Temperature: Work within the product’s specified range (commonly 50–90°F / 10–32°C).
- Humidity and dew: Avoid high humidity and late-day application that risks overnight dew blushing.
- Rain-safe time: Honor the stated “dry to rain” window—often 4–24 hours—to prevent wash-off.
Maintenance: The Secret to Multi-Year Durability
Even the best coatings weather. A light, regular care plan is the simplest way to extend protection and keep surfaces fresh.
The water-bead test
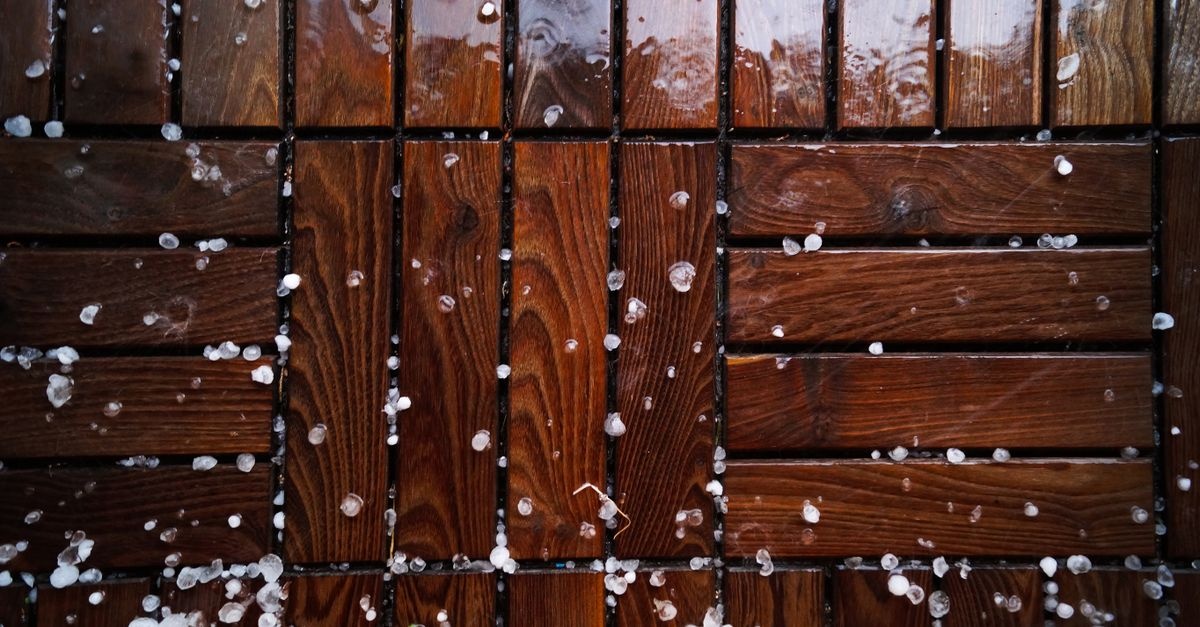
Once or twice a season, sprinkle water on the surface. If it beads and rolls, your repellency is active. If it darkens quickly and soaks in, schedule cleaning and a refresh coat.
Seasonal checklist
- Spring: Wash pollen, dirt, and mildew. Inspect for peeling, checks, and failed caulk or sealant lines.
- Mid-summer: Spot-test for water beading and UV fade; touch up high-wear zones like stair treads and rail tops.
- Fall: Clear leaves and debris; ensure groundwater drains away from posts and slabs. Recoat if protection has thinned.
Easy refresh vs. full refinish
- Penetrating systems: Typically clean, dry, and apply one maintenance coat—no heavy sanding.
- Film-formers: Lightly abrade and add a coat before the film cracks. Once failure starts, you may need to strip and rebuild.
Advanced Moisture Barriers and Smart Add-Ons
Beyond coatings, construction accessories can dramatically cut water exposure, boosting lifespan and reducing upkeep.
Flashing tapes and caps
- Joist-top tape: Apply butyl or asphalt flashing tape to deck joists before boards go down. It blocks water and preserves fastener holes.
- Post caps: Metal or wood caps stop water from soaking end grain at fence posts and newel tops.
Under-deck drainage
Systems that divert water to gutters beneath an upper deck protect framing and create dry space below. They limit constant wetting that accelerates decay.
Borate treatments
Borate solutions diffuse into wood, providing deep protection against rot and insects without heavy metals. Seal with a topcoat to lock them in, especially outdoors.
Seal the first 2 inches
Most moisture wicks through ends and edges. Extra attention to the first 2 inches—end-grain sealer, additional stain passes, or epoxy in high-exposure spots—pays outsized dividends.
Common Mistakes That Invite Water Damage
- Skipping end-grain sealing: The fastest failure path left wide open.
- Applying over wet wood: Trapped moisture will blister, peel, or cloud the finish.
- Heavy coats: Thick applications skin over and crack; two or three thin coats perform better.
- Ignoring horizontal details: Flat, level surfaces hold water; slope them or expect premature wear.
- No maintenance plan: Waiting until finish failure means full restoration, not a quick refresh.
Environmental and Safety Considerations
- Low-VOC choices: Waterborne stains and finishes have improved dramatically; many deliver excellent water repellency with fewer fumes.
- Child- and pet-safe: For play sets and garden beds, choose finishes rated for incidental contact and avoid biocides not intended for these uses.
- Disposal: Oily rags can spontaneously combust. Dry flat outdoors before disposal and follow local regulations for solvent waste.
DIY or Hire a Pro?
Most homeowners can handle cleaning, WRPs, and penetrating stains. Consider a professional for large surfaces, complex film-forming systems, or epoxy/varnish builds where technique and timing determine success. Pros also bring moisture meters, sprayers, and weather-savvy scheduling to the job.
Tools and Materials Checklist
- Assessment: Moisture meter, awl, flashlight.
- Prep: Exterior cleaner/brightener, scrub brushes, pressure washer (used judiciously), sanders, abrasives (80–120 grit).
- Protection: WRP, penetrating stain or paint system, end-grain sealer, caulk/fillers compatible with finish.
- Application: Quality brushes, rollers, pads, or sprayer; drop cloths and masking.
- Hardware & barriers: Stainless/HDG fasteners, flashing, butyl tapes, post caps.
- Safety: Gloves, respirator or appropriate mask, eye protection, and rags stored in a metal can with a lid.
Putting It All Together: A Practical Moisture-Blocking Plan
- Choose the right wood: Favor durable species or pressure-treated where needed.
- Design for drainage: Slope horizontals, add drip edges, ensure airflow, and isolate from soil.
- Pre-seal vulnerabilities: End grain, checks, and hidden faces (back-priming) get early attention.
- Build your finish system: WRP base + stain for decks/fences; primer + exterior paint for siding/trim; oil or varnish systems for furniture.
- Install smart barriers: Flashing tape on joists, post bases, and under-deck drainage where appropriate.
- Maintain lightly but regularly: Clean, bead-test, and recoat before failure begins.
Follow these steps and you’re not just learning how to protect outdoor wood from moisture—you’re engineering a system that sheds water, resists biological attack, and stays attractive through many wet seasons.
FAQ: Quick Answers for Moisture Protection
What’s the single most effective step?
Seal the end grain and design for drainage. Those two moves eliminate the fastest water pathways and keep finishes intact longer.
Paint or stain—what blocks water better?
Properly applied exterior paint over primer is an excellent moisture barrier for siding and trim. For walk surfaces and railings, high-quality stains provide robust water repellency while accommodating movement and easier maintenance.
How often should I recoat?
Penetrating stains: 12–36 months. Solid stains/paint: 3–7 years depending on exposure. Marine varnishes: annual touch-ups to prevent film breach. Use the bead test, not the calendar, to decide.
Can I apply finish right after rain?
No. Let wood dry to about 12–15% moisture content. As a rule of thumb, wait 24–72 hours depending on climate and sun exposure, then verify with a moisture meter.
What’s the best method for slippery deck boards?
Choose stains labeled for decks with anti-slip additives or mix-in grits. Avoid glossy film finishes on walk surfaces.
Does oiling teak make it last longer?
Teak lasts even unfinished, but oiling helps maintain color and improves water resistance. Expect frequent light maintenance to keep the look consistent.
Conclusion: Moisture Control is a System, Not a Single Product
Rain-proofing exterior wood is part science, part craft. Start by selecting durable materials, design assemblies that shed and vent, then apply a compatible sequence of preservatives, repellents, and UV-blocking finishes. Add strategic barriers where wood meets water, and maintain lightly but regularly. Do that, and you’ll master how to protect outdoor wood from moisture without endless sanding or costly do-overs—delivering decks, fences, furniture, and structures that stay strong and beautiful through every storm.