Sync Your Smart Home with the Sun: A Practical Guide to Solar-Powered Automation
Imagine your home quietly coordinating with the sky: the washing machine waits for a bright spell, your heat pump preheats before sunset, and your EV tops up at midday—without you lifting a finger. That is the promise of solar-powered automation. This in-depth guide shows you how to connect smart home with photovoltaics so your devices act on real-time solar production, prices, and priorities.
We’ll cover how PV systems work, the integration options (local, cloud, and hybrid), the protocols that matter, step-by-step setup, proven automation “recipes,” safety and cybersecurity, KPIs, and ROI. Whether you’re using Home Assistant, Matter-enabled devices, or an inverter with a simple API, you’ll find flexible patterns that fit your hardware and budget.
Why Syncing Your Home with the Sun Matters
Households increasingly generate their own power yet miss easy wins because devices run on fixed schedules. Solar-aware automation aligns demand with production and tariffs, delivering:
- Higher self-consumption: Use more of what you generate and export less at low tariffs.
- Lower bills: Shift loads to sunny, off-peak hours and avoid expensive evening peaks.
- Comfort and convenience: Let your system time chores and climate control behind the scenes.
- Resilience: Coordinate battery storage and smart loads for outages and storms.
- Lower emissions: Consume clean energy when it’s abundant.
How Solar PV and Home Energy Flows Work
To automate intelligently, you need a mental model of where energy comes from and where it goes. PV output varies with irradiance, temperature, and shading; household demand fluctuates across the day; and utility rates may change by hour.
Core PV Components
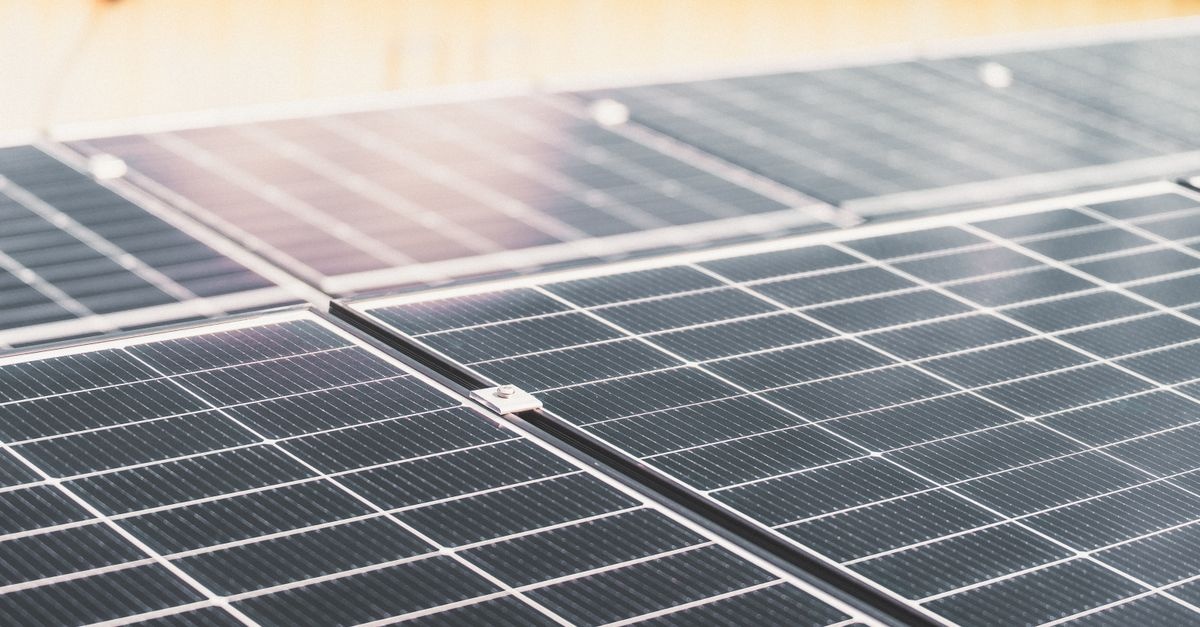
- Solar array: Panels convert sunlight to DC electricity.
- Inverter: Converts DC to AC for household circuits; may be string, microinverter, or hybrid (with battery support).
- Metering: Utility revenue meter and/or a home energy monitor (e.g., CT clamps) to measure import/export and loads.
- Battery storage (optional): Stores solar for later; interacts with inverter and smart controls.
Smart Home Consumers and Controllable Loads
- HVAC/heat pumps: Major loads that can preheat/precool with solar.
- Water heating: Resistive or heat pump water heaters are excellent “thermal batteries.”
- EV charging: Flexible, high-capacity sink for midday surplus.
- Appliances: Dishwashers, washers, dryers can be scheduled or triggered.
- Pool pumps and dehumidifiers: Duty cycles can follow solar availability.
- Smart plugs and relays: Add control to legacy loads.
Integration Architectures: Pick Your Path
There’s no single “right” way to integrate photovoltaics with a smart home. Choose an architecture based on your comfort level, privacy needs, and hardware capabilities.
1) Cloud-Centric
Devices and PV inverters expose data via manufacturer clouds or third-party services (e.g., IFTTT). Advantages: easy setup, minimal hardware. Trade-offs: latency, vendor lock-in, possible API limits.
- Good for: Basic automations, renters, or non-technical users.
- Consider: Rate limits, data privacy, and reliance on internet uptime.
2) Local Gateway (HEMS)
A local Home Energy Management System (HEMS) such as Home Assistant on a Raspberry Pi or mini PC, with integrations for your inverter (Modbus/SunSpec), meter (MQTT), and devices (Matter, Zigbee, Z-Wave). Advantages: privacy, speed, resilience, vendor-agnostic control.
- Good for: Power users, reliability, deep customization.
- Consider: Slightly higher setup complexity.
3) Hybrid
Combine local control for critical automations with cloud services for forecasts or remote access. Many users find this the “sweet spot” between convenience and robustness.
Standards, Protocols, and Platforms You’ll Encounter
Interoperability is the backbone of a durable setup. Prioritize devices and services that support open, well-documented interfaces.
Smart Home Stacks
- Matter + Thread: Modern IP-based standard for local control and multi-vendor compatibility.
- Zigbee/Z-Wave: Mature mesh networks; widely supported by hubs like Home Assistant or SmartThings.
- Wi‑Fi/Tuya/Shelly: Easy to deploy; check for local APIs and energy metering.
Data and Control Interfaces
- SunSpec/Modbus TCP: Common for inverter telemetry and control (setpoints, limits, readings).
- MQTT: Lightweight pub/sub for energy data (e.g., power, SoC) and commands.
- REST/WebSockets: Vendor APIs for devices and energy services.
- OpenADR: Utility signaling for demand response; relevant for programs and dynamic tariffs.
Plan First: Goals, Constraints, and Data
Successful automations start with clarity. Decide what “good” looks like before writing any rules.
Define Outcomes
- Maximize self-consumption up to a comfort threshold.
- Minimize costs under time-of-use (TOU) or real-time pricing.
- Protect backup reserve for outages (battery SoC minimums).
- Reduce emissions by aligning with grid carbon intensity.
Know Your Constraints
- Appliance duty cycles and comfort bands (e.g., temperature limits).
- Inverter limits, export constraints, and interconnection rules.
- Battery charge/discharge power and cycle life considerations.
- Household routines and noise windows.
Collect the Right Data
- Real-time PV output and site import/export power.
- Battery SoC, charge/discharge rates, and reserve levels.
- Device states and energy use from smart plugs or appliance integrations.
- Solar forecasts and tariff signals (TOU periods, prices).
- Weather: irradiance, temperature, cloud cover.
Step-by-Step: How to Connect Smart Home with Photovoltaics
Follow these practical steps to bridge your PV system and smart devices. This is a vendor-neutral blueprint you can adapt to your hardware.
- Inventory what you have
- PV inverter make/model; note communications options (Ethernet, Wi‑Fi, RS‑485).
- Battery presence and brand (if any), supported APIs.
- Smart home hub (e.g., Home Assistant) and compatible devices (Matter, Zigbee, Z‑Wave).
- Controllable loads: HVAC, water heater, EVSE, pool pump, appliances.
- Decide your architecture
- Local-first for speed/resilience: Home Assistant + inverter via Modbus/SunSpec + MQTT energy monitor.
- Cloud-first for simplicity: Manufacturer apps + IFTTT or native automations.
- Hybrid for the best of both.
- Enable inverter telemetry
- Activate local API or Modbus TCP on the inverter (check manual).
- Connect the inverter to your LAN. Assign a static IP for reliability.
- Verify you can read PV production and site power (import/export).
- Add site-level metering
- Install a whole-home energy monitor (e.g., CT clamp meter) or use the inverter’s meter if present.
- Publish readings to your hub (MQTT/REST) for real-time automations.
- Connect controllable loads
- Pair smart plugs/relays with heavy but flexible loads (washer, dryer, dehumidifier, pool pump).
- Integrate HVAC, smart thermostats, or heat pump water heaters via local or cloud APIs.
- Link your EV charger if it supports API control or solar-follow mode.
- Model your priorities
- Define a stack rank: backup reserve > comfort > cost savings > exports.
- Set guardrails: max/min temperatures, quiet hours, device runtimes.
- Build your first automation
- Trigger on solar surplus: e.g., when PV - house load ≥ 1.5 kW for 5 minutes, start water heating.
- Include hysteresis and timeouts to avoid rapid toggling.
- Refine with forecasts and tariffs
- Use solar forecasts to schedule flexible tasks earlier on bright days.
- Respect TOU: preheat/precool before peak; defer non-essentials.
- Layer battery logic
- Maintain a reserve SoC; allow discharge only during peaks or outages.
- Charge EV from solar first; fall back to off-peak grid if needed.
- Monitor and iterate
- Track self-consumption rate, cost savings, comfort metrics.
- Adjust thresholds, priorities, and schedules monthly.
Automation Playbooks You Can Reuse
Use these proven patterns as templates. Adapt thresholds to your system size and comfort preferences.
Self-Consumption Maximizer
- Trigger: PV surplus > 800 W sustained 5–10 minutes.
- Actions:
- Start dishwasher or laundry if within allowed hours.
- Enable heat pump water heater to top up to high setpoint (e.g., 55–60°C).
- Run dehumidifier/pool pump for a timed interval.
- Guardrails: Stop if surplus drops below 400 W for 3 minutes; respect quiet hours.
EV Midday Solar Charging
- Trigger: Car plugged in + PV surplus ≥ charger’s minimum current.
- Actions: Modulate charge rate to follow surplus; set a minimum SoC by departure time.
- Guardrails: Pause during peak TOU if no surplus; resume off-peak.
Preconditioning with Sun
- Trigger: Forecasted high solar between 11:00–15:00 + occupancy away or flexible.
- Actions: Precool or preheat home 1–2°C during solar window to reduce evening peak draw.
- Guardrails: Limit runtime; revert to normal schedule at sunset or price peak start.
Battery-Aware Dispatch
- Trigger: Evening peak rate begins or grid outage detected.
- Actions: Discharge battery to meet load until reserve SoC is reached.
- Guardrails: Keep emergency reserve (e.g., 20–40%); disable non-essential loads in outages.
Whole-Home Demand Response
- Trigger: OpenADR/utility alert or tariff spike.
- Actions: Shed non-critical loads, reduce HVAC setpoints slightly, pause EV charging.
- Guardrails: Health and comfort overrides; maximum curtailment duration.
Choosing Hardware That Plays Nice
Your experience hinges on data access and controllability. Prioritize hardware with local APIs, documented protocols, and strong community support.
PV Inverters and Data Access
- Hybrid inverters with battery support often expose SoC and control setpoints via SunSpec/Modbus.
- Vendors: Fronius, SMA, SolarEdge, Enphase, Sungrow, Huawei—capabilities vary by model/region.
- What to look for: Local telemetry (power, voltage, import/export), writeable limits (export caps), reliable LAN connectivity.
Smart Meters and CT Clamp Monitors
- Products like Shelly EM, Shelly 3EM, Emporia Vue, and Sense provide near real-time whole-home or circuit-level data.
- Local MQTT or LAN API support simplifies automations and dashboards.
Smart Relays, Plugs, and Switches
- Choose devices with energy monitoring to validate savings and create power-based triggers.
- Ensure safe current ratings for resistive loads and motor loads; use contactors if needed.
Gateways and Hubs
- Home Assistant on a Raspberry Pi, NUC, or server.
- Zigbee/Matter bridges; Z‑Wave sticks; reliable Wi‑Fi.
- Optional: Node‑RED for visual logic, InfluxDB + Grafana for analytics.
Software Setup Examples
These example paths illustrate how to connect solar telemetry and device control. Adapt to your models and firmware.
Home Assistant with SunSpec/Modbus
- Install the Modbus integration; point to inverter IP and port.
- Map key registers: PV power, site power, battery SoC, charge/discharge rates.
- Create sensors and template sensors for surplus = PV − house_load.
- Use automations or Node‑RED to trigger loads based on surplus thresholds.
Node‑RED Flow Logic (Conceptual)
- Inputs: MQTT topics for pv_power, load_power, battery_soc; calendar for departure times; tariff API for prices.
- Function nodes compute surplus, decide charge rates and on/off states.
- Outputs: MQTT/REST to smart plugs, thermostats, EVSE, inverter setpoints.
IFTTT or Cloud Applets
- Trigger on inverter-reported thresholds or weather forecasts.
- Control compatible plugs and appliances; mind rate limits and latency.
Safety, Electrical Compliance, and Cybersecurity
Solar-smart automation adds complexity. Keep safety and security front‑of‑mind.
Electrical and Installation Safety
- Hire a qualified electrician for fixed wiring, high-current relays, and panel work.
- Respect anti‑islanding requirements and local interconnection rules.
- Ensure relays/contactors are rated for the load and have proper enclosures.
- Validate thermal loads (e.g., water heaters) meet manufacturer control guidance.
Cybersecurity Best Practices
- Prefer local control and disable unnecessary remote access.
- Use unique, strong passwords and update firmware regularly.
- Segment IoT devices on a separate VLAN/SSID where possible.
- Use HTTPS/TLS and API tokens; rotate credentials periodically.
Monitoring, KPIs, and Optimization
Measure to improve. Put numbers on your goals and iterate monthly.
Key Metrics
- Self-consumption ratio: On-site PV used ÷ PV produced.
- Self-sufficiency ratio: On-site PV used ÷ total consumption.
- Peak demand reduction and bill savings vs. baseline.
- Battery throughput and cycle count; ensure healthy usage.
- Comfort indicators: temperature bands, task completion rates.
Optimization Tactics
- Adjust surplus thresholds and minimum run-times to reduce cycling.
- Introduce solar forecasts to pre-schedule tasks more intelligently.
- Use price signals to fine-tune battery discharge and EV charging.
- Split large loads into stages (e.g., EV trickle vs. max current) to follow solar better.
Economics, Tariffs, and Incentives
Financial outcomes depend on export compensation, time-of-use rates, and incentives. Smart automations help wherever export rates are low and peak prices are high.
Tariff Landscape
- Net metering/net billing: May credit exports at retail or a lower rate.
- Time-of-use: Prices vary by hour; automate to avoid peaks.
- Demand charges: Battery dispatch and load staggering can cut peaks.
- Demand response: Payments for curtailment (OpenADR participation).
Back-of-the-Envelope ROI
- If you shift 5 kWh/day from peak to solar/off-peak at a $0.20/kWh spread, that’s ~$1/day or ~$365/year.
- Add EV: shifting 10 kWh/day yields ~$730/year more under similar spreads.
- Smart hardware (monitors, relays, hub) might cost $200–$600; simple paybacks of 6–18 months are common, faster with EVs and heat pumps.
Troubleshooting and FAQs
“My automations keep toggling rapidly.”
Add hysteresis and minimum on/off durations. Average signals over 1–5 minutes.
“Inverter data seems delayed.”
Some APIs update every 5–30 seconds. Use site meters for faster feedback or increase thresholds.
“Battery doesn’t hold reserve during peak.”
Set a hard SoC floor and exclude certain loads from battery discharge; debug rule ordering.
“How do I avoid conflicts between automations?”
Introduce a priority controller (one brain) that issues commands; other rules read-only.
“Can renters do this?”
Yes—with portable smart plugs, cloud APIs, and utility price signals. Even without owning PV, you can schedule around TOU and carbon intensity.
Glossary
- PV (Photovoltaics): Technology converting light into electricity.
- HEMS: Home Energy Management System; orchestrates devices and energy flows.
- SoC: Battery state of charge, in percent.
- SunSpec/Modbus: Protocols for inverter telemetry/control.
- TOU: Time-of-use rates; pricing varies by time.
- Surplus: PV generation minus household consumption.
Conclusion: Make the Sun Your Home’s Operating System
Solar-aware automation turns your home into an energy-savvy teammate. With a handful of integrations—PV telemetry, a local hub, and controllable loads—you can schedule chores, shape demand, and protect battery reserves automatically. Start simple: monitor surplus, trigger one flexible load, and observe. Then layer in EV charging, HVAC preconditioning, and tariff awareness. If you’ve wondered how to connect smart home with photovoltaics without vendor lock-in or complexity, the patterns here give you a robust, modular roadmap.
Next steps:
- Enable local telemetry on your inverter and add a site energy monitor.
- Connect two flexible loads via smart plugs or native APIs.
- Implement a basic surplus-based automation with guardrails.
- Track KPIs for a month, then refine thresholds and add forecasting.
With each iteration, you’ll tighten the feedback loop between sunlight and action—lowering bills, raising comfort, and making clean energy your default.