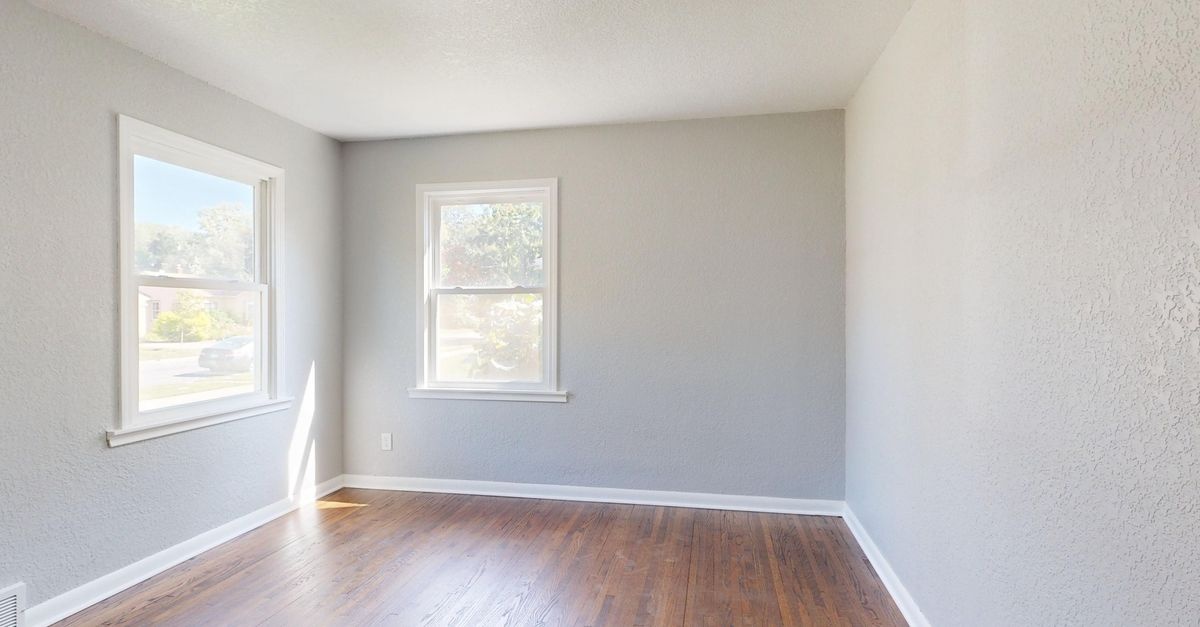
From Dull to Dazzling: Restore Your Wooden Floors with Sanding and Oiling
When a wood floor loses its glow, many people assume the only fix is replacement or a thick plastic-looking topcoat. There is a better path. By carefully sanding and oiling, you can revive authentic grain, deepen character, and create a resilient surface that is easy to maintain and age gracefully. This guide walks you through Wooden floor restoration–sanding and oiling from start to finish, blending professional techniques with homeowner-friendly tips so you can deliver an elegant, long-lasting result.
The complete guide to Wooden floor restoration–sanding and oiling
Below you will find a full roadmap: how to judge if your planks are good candidates, which tools to pick, the right grit sequence, oil types, application methods, curing times, common pitfalls, and long-term care. Whether you are breathing new life into oak, pine, or parquet, the principles are the same: remove worn finishes cleanly, prepare the surface with discipline, and apply penetrating oils in thin, even coats.
Why choose sanding and oiling over other finishes?
Two big reasons: beauty and serviceability. Penetrating oils move into the wood fibers instead of forming a thick film on top. The result is a natural, tactile surface that enhances grain and is comfortable underfoot. It can be refreshed locally without full resanding, saving time, money, and material over the life of the floor.
- Natural look and feel: Oil highlights figure, chatoyance, and seasonal color shifts rather than masking them.
- Repairability: Minor scratches can be abraded and spot-oiled without redoing the entire room.
- Longevity through maintenance: With occasional cleaning and a maintenance oil, oiled floors can last decades before any major work is needed.
- Low to matte sheen: Modern interiors often favor a muted, low-gloss finish that oil delivers effortlessly.
- Tactile traction: Oiled surfaces can feel less slippery compared with some high-build films.
There are trade-offs. Oil requires proactive care, and it will not hide deep gouges or heavy water damage. If you expect a high-gloss, ultra-thick shine with complete spill immunity, a film-forming sealer may be better. But for many homes, oil delivers the ideal blend of appearance, durability, and repairability.
Understanding oil systems: what you are actually applying
Not all oils are the same. Knowing your options will help you match the product to your space, species, and expectations.
Traditional penetrating oils
Often based on linseed, tung, or blends, these soak into the wood and cure by oxidation. They have a classic hand-rubbed look and are forgiving to apply. They may require more frequent maintenance but are easy to refresh.
Hardwax oils
These combine penetrating oils with natural or synthetic waxes. They build a micro-thin, flexible layer at the surface while still penetrating, improving scuff resistance and moisture tightness without a thick plastic film. They are popular for oak, ash, and many parquet floors due to their balance of beauty and practicality.
Two-component (2K) oils
These use a hardener added at the job site to speed cure and increase chemical resistance. Ideal for kitchens, entryways, cafes, or busy households, 2K oils bring higher performance while preserving the oiled aesthetic. Working times are shorter, so careful planning matters.
Tinted and reactive options
Many oils are available in colors, from light whitewashes to deep charcoals. Reactive pretreatments can enrich tone on tannin-rich species like oak, but they demand testing and precise technique. When in doubt, use a color-matched tinted oil rather than complicated chemical reactions.
Is your floor a good candidate?
Before you commit, verify that sanding and oiling suits your material and condition.
Solid vs engineered
- Solid hardwood: Usually safe to sand several times, assuming there is sufficient thickness above tongues and grooves.
- Engineered flooring: Check wear layer thickness. A 3 to 6 mm veneer can handle one to two careful resands. Anything under about 2.5 mm is risky.
Species and grain
- Oak and ash: Ideal for oil; open grain drinks in finish and displays beautiful depth.
- Pine and fir: Softer woods demand gentler sanding and careful oiling to avoid blotching; test color first.
- Maple and birch: Tight grain can look sleek but may show sanding marks if technique is poor; step your grits thoughtfully.
- Exotics: Natural oils and extractives can slow curing; always degrease lightly with manufacturer-approved prep if needed.
Condition and previous finishes
- Deep stains or water damage: Dark iron stains near radiators or pet accidents may require localized bleaching or board replacement.
- Wax or polish residue: Old paste wax or silicone polishes can contaminate sanding dust and repel oil; thorough sanding and vacuuming are vital.
- Nail heads and fasteners: Set them below the surface to protect sanding belts and prevent metallic streaks.
Planning the project
Success begins before the machine ever touches wood. Map your sequence, and control variables like dust and climate.
Room preparation
- Remove furniture, rugs, doors (if needed), and base shoe molding.
- Tape off cabinets, vents, and doorways to limit dust migration.
- Check for protruding nails, staples, or screws and set them below the surface.
- Ensure stable interior conditions: 18–24°C, 35–55% relative humidity.
Safety gear and dust control
- Respiratory protection: Fine dust is harmful. Use a proper mask and keep dust extraction on.
- Hearing protection and eye protection: Sanders are loud and produce debris at edges and corners.
- Vacuum with HEPA filtration: Essential for clean surfaces that accept oil evenly.
Tools and materials checklist
Sanding equipment
- Belt or drum sander for field areas.
- Edger for perimeters and under toe kicks.
- Random orbital sander or buffer with sanding screens for final smoothing.
- Corner or detail sander for tight spots and stairs.
Abrasives and fillers
- A full grit sequence: often 36 or 40, then 60, 80, and 100 or 120 depending on species and oil system.
- Trowel filler or slurry made from fine dust and binder to fill hairline gaps if desired.
Finishing supplies
- Chosen wood floor oil: penetrating, hardwax, or 2K, possibly tinted.
- Applicators: t-bar, short-nap roller, white or beige pads for buffing, lint-free rags.
- Clean buckets, stir sticks, and measuring tools for 2K activators.
- Maintenance soap and maintenance oil for future care.
Sanding step by step
Precision sanding is the foundation of an even, beautiful oil finish. The aim is flat, scratch-pattern-managed wood, free of contaminants and swirl marks.
1) First cut: flatten and remove old finish
Begin with a coarse grit that removes the old coating and levels cupped or dish-out areas. In most cases, that means 36 or 40 grit. Move with the grain on straight-laid boards. On herringbone or chevron, sand with the pattern, not across it. Keep the machine moving during engage and lift to prevent divots.
- Feather at doorways so you can blend transitions cleanly.
- Overlap passes by one-third to ensure even cut and avoid striping.
- Empty dust bags frequently to reduce fire risk and keep suction high.
2) Edge sanding
After each main pass, match the perimeter with the edger using the same grit you used on the field. Keep the edger flat and moving. Tip marks and dig-ins are common mistakes; if you see them, step back a grit or widen your blend zone with the next pass.
3) Intermediate cuts: refine the scratch pattern
Move up through 60 and 80 grits to remove coarser scratches. Do not skip grits unless a test shows you can do so without leaving marks. Each step should erase the previous scratch pattern fully. Use an inspection light at a low angle to catch chatter early.
4) Fill gaps and nail holes
For a refined look, trowel in a compatible filler or a dust-and-binder slurry after your 60 or 80 grit pass. Work it diagonally to pack gaps. Allow full dry time, then continue sanding to your final grit.
5) Final sanding and screening
Finish to 100 or 120 grit depending on species and oil manufacturer guidance. A buffer with 100–120 screen or a multi-disc sander can even out subtle drum or edger marks. Do not over-polish; overly smooth wood may reduce oil absorption and bond strength.
6) Meticulous cleaning
- Vacuum the floor, walls, sills, and radiator fins to remove fine dust.
- Vacuum again. Then wipe with a dry microfiber pad; avoid wet-tacking unless the system recommends water popping.
7) Optional: water popping
On tight-grained species or when chasing richer color, lightly dampen the surface with a fine mist of clean water to raise grain uniformly. This increases porosity for more even oil uptake. Let the floor dry fully before finishing, and plan for a quick buff if necessary to knock down fuzz.
Choosing the right oil for your space
Match the product to the traffic level, desired look, and maintenance philosophy.
Penetrating oil
Best for quiet living rooms, bedrooms, and studies where hand-rubbed warmth shines. Expect to refresh with maintenance oil annually or as needed.
Hardwax oil
Excellent all-rounder for family homes, galleries, and cafes. It offers better abrasion resistance while keeping a natural feel. Many brands allow spot repairs without witness lines.
2K oil
Use where chemical resistance and faster return to service are crucial: kitchens, entry halls, commercial spaces. Mixing accuracy, thin coats, and ventilation become extra important.
Color choices
- Natural clear: Maximizes grain clarity; ambering varies by product.
- Whites and neutrals: Control yellowing on pale species; test for evenness on softwoods.
- Smoked and dark tones: Provide drama and conceal minor soiling; show dust more readily.
Oiling like a pro: application workflow
Great oil finishes are built on thin, even, well-buffed coats. Resist the urge to flood the surface. Work methodically and keep the room ventilated according to product instructions.
Preparation and mixing
- Condition the room: stable temperature and humidity, no drafts that kick up dust.
- Stir or shake as directed. For 2K oils, measure the hardener precisely and mix only what you can apply within the pot life.
First coat: wet in and buff
- Apply a thin, uniform layer using a t-bar, short-nap roller, or spreader. Work in manageable sections.
- Allow a short dwell so the wood can drink the oil. Do not let puddles sit.
- Buff with a white or beige pad to drive oil into pores and remove excess from the surface. Edges and corners get hand-buffed with lint-free rags.
- Wipe all shiny spots until the sheen is uniformly matte. Any glossy wet film left behind can cure sticky.
Drying and second coat
Follow the manufacturer’s timing. Many systems allow a second coat after 6–24 hours when the first is dry to the touch and not tacky. The second coat is often even lighter. Buff again to uniformity.
Final burnish
Some oils benefit from a final dry buff with a clean pad after a day or two to even the sheen and add a silky hand. This is optional but elevates the finish on open-grain woods.
Early-life care
- Light foot traffic only for the first 24–48 hours; socks preferred.
- No wet cleaning for at least a week. Full cure can take 5–14 days depending on product and climate.
- Use felt pads on furniture and breathable rugs after initial cure. Avoid rubber-backed mats initially.
Color and sheen control
Stains vs tinted oils
You can add color two ways: pre-stain and then clear oil, or use a pigmented oil. Tinted oils simplify the process and are easier to blend during application. Pre-stains offer wider color ranges but demand perfect sanding and even application. Always create a sample board from offcuts or an inconspicuous corner.
Matte to satin
Hardwax systems often have separate topcoats to set sheen, from ultra-matte to satin. Lower sheen hides scuffs and dust better, while satin brings a soft glow without high gloss. Mixes of matte and satin can fine-tune the look; keep ratios consistent across coats.
Maintenance: keep the glow without a full redo
One of the best aspects of an oiled floor is how gracefully it ages with modest care. Build a simple routine and your floor will reward you with a deepening patina over time.
Daily and weekly
- Dry dust with a microfiber mop or soft-bristle vacuum head. Grit is the enemy of finishes.
- Spot clean spills quickly. Use a neutral pH wood soap approved for oil-finished floors when damp mopping.
- Rotate rugs and mats periodically to even out light exposure.
Seasonal and annual
- Apply maintenance oil or refresher product as needed in high-traffic zones. Buff thinly and remove all excess.
- Address scratches early. Lightly abrade locally with a fine pad, then wipe on oil and blend.
- Check felt pads and door sweeps; replace worn ones to prevent scoring.
When to call a professional
If heavy dents, cupping, or widespread discoloration appears, a pro can determine whether a deep clean and re-oil will suffice or if a full resand is warranted.
Costs, time, and planning
Budget and scheduling are easier when you understand the moving parts.
DIY cost ranges
- Equipment rental: sander, edger, buffer, and vacuum can range widely by region.
- Abrasives: plan on multiple belts, discs, and screens per room.
- Oils and pads: coverage varies by species and porosity; buy a little extra to maintain batch consistency.
Professional services
Pros bring speed, dust control, and a polished workflow. The price reflects not just labor but also risk management, experience with tricky species, and top-tier extraction systems. For busy households or intricate parquet, hiring out can be very cost-effective.
Timeline
- Prep and sanding: 1–2 days for typical spaces, more for complex layouts.
- Oil application: usually 1 day for two light coats, plus cure time.
- Return to light use: within 24–48 hours depending on product; full cure in about a week or two.
Common mistakes and how to avoid them
Swirl marks and chatter
Cause: mismatched grit progression, worn pads, or rushing the final pass. Fix: step back a grit, even out with a multi-disc or buffer, and inspect with raking light after each pass.
Edge dish-out and stop marks
Cause: tilting the edger or pausing during engage/lift. Fix: practice on scrap, keep the edger level, and feather into the field area with the next grit.
Blotchy or dull oil
Cause: uneven sanding, dust left on the surface, or inconsistent product agitation. Fix: sand to a uniform final grit, vacuum thoroughly, stir product as directed, and buff all sections evenly.
Sticky or soft finish
Cause: excess oil left on the surface, heavy coats, cold rooms, or short cure times. Fix: always remove all wet shine, keep coats thin, and maintain proper temperature and airflow. If sticky after 24–48 hours, lightly buff with a clean pad and rags to remove residue, then allow more cure time.
Color mismatch
Cause: skipping samples or mixing batches inconsistently. Fix: always sample on your actual wood, measure tints precisely, and keep a wet edge during application to avoid lap lines.
Sustainability and indoor air quality
Modern oil systems often feature low VOC formulations and renewable ingredients. Choose products with transparent data sheets and proven certifications where available. Good ventilation during application and early cure is still essential. Dispose of oil-soaked rags safely in a sealed metal container or water-filled bag to prevent spontaneous combustion.
Case study: a tired oak living room reborn
A 25-year-old oak floor showed sun fade, rug outlines, and scattered pet scratches. The homeowners wanted a natural, low-sheen look without the plastic feel of high-build finishes. After deep cleaning, nails were set and gaps filled with a fine trowel filler. The sanding sequence progressed from 40 to 60 to 80 to 100, with matching edge work and a final screen on a buffer. A neutral hardwax oil was applied in two thin coats with careful buffing to remove all excess. The next morning, the floor revealed rich grain, a velvety sheen, and a warmth that made the space feel bigger and calmer. Maintenance now consists of weekly microfiber dusting and a seasonal refresher in high-traffic zones. No full resand will be needed for many years.
Quick-start checklist
- Confirm your floor can be sanded: thickness, species, and condition.
- Plan the grit sequence; do not skip steps.
- Control dust: extraction, HEPA vacuum, and meticulous cleanup.
- Choose oil type and color; make and approve samples.
- Apply thin coats, buff thoroughly, and remove all excess.
- Respect drying and curing windows; protect the floor early on.
- Set a simple maintenance routine with neutral soap and maintenance oil.
Frequently asked questions
How long does an oiled floor last before needing major work?
With routine cleaning and periodic maintenance oil, many homes get 10–20 years or more before considering another deep resand. Most scuffs and small scratches can be spot-repaired along the way.
Is oil safe in kitchens?
Yes, especially with hardwax or 2K oils. Wipe spills promptly and use mats near sinks. Expect to refresh high-traffic paths more often.
Can I switch from a previous polyurethane to oil?
Yes, but only after a complete resand to bare wood. Screening alone is not enough; residual film finishes can block oil penetration.
What about underfloor heating?
Oiled floors pair well with radiant systems due to the flexible, micro-thin finish. Keep heat and humidity within range to prevent excessive seasonal movement.
Will oil darken my floor?
Clear oils often impart a mild amber tone. Some modern formulas limit yellowing. If you prefer a pale look, sample matte or white-tinted versions on your actual boards.
Can I live in the home during the project?
Usually yes, if you phase rooms and have good ventilation. Most oil systems are low odor compared with some high-solvent options, but always follow safety guidance.
Pro tips for a flawless result
- Lighting is a tool: Use raking light to reveal scratches or waves before moving to the next grit.
- Keep abrasives fresh: Dull belts burnish rather than cut and can leave gloss differences that telegraph through the finish.
- Edge blend zones: After edging, run a buffer or multi-disc over the perimeter to unify field and edge scratch patterns.
- Thin is king: Multiple whisper-light coats beat one heavy coat every time.
- Label everything: Record product lot numbers, mix ratios, and times. Consistency prevents surprises.
From plan to polish: bringing it all together
Restoring a wood floor with sanding and oiling is both craft and system. You remove the old, refine the surface, choose a compatible oil, and apply it in thin, well-buffed layers. Then you protect the work with simple, thoughtful maintenance. The payoff is real: a floor that looks authentic, handles daily life gracefully, and can be renewed without drama.
Tip: Make a small sample area that runs through your entire workflow, from sanding sequence to final oil, before committing to the whole room. A two-hour test can prevent a two-day redo.
Conclusion: restore, don’t replace
If your planks are structurally sound, there is no need to rip them out or bury them under thick films. With discipline and the right products, you can transform tired boards into a floor that glows with depth and character. For homeowners and pros alike, Wooden floor restoration–sanding and oiling offers a sustainable, elegant route to beauty and durability. Prepare thoroughly, sand with intention, oil thinly and evenly, and enjoy the warm, tactile finish that only real wood can provide.
Ready to begin? Gather your tools, sample your colors, and start with the room you use and love the most. In a few days, you will step onto a surface that feels like home again.